

In this post we walk you through the process of creating a simple environment
If you are not registered on Websson or do not have an active subscription or free trial please refer to this Getting Started with Websson Quickstart and complete the registration process accordingly.
Adding Dabases, Database Managers and IDE’s can all be done in conjunction with creating an environment or added afterwards once the environment has been created.
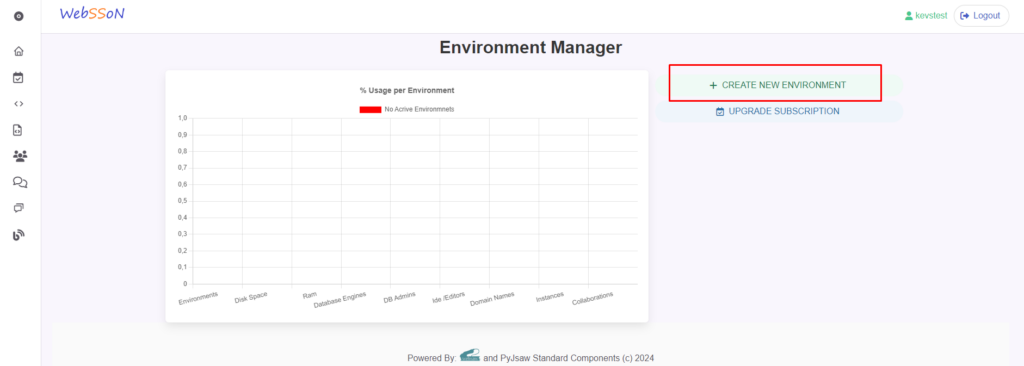
So lets head on over to the environment manager and create a Django environment:
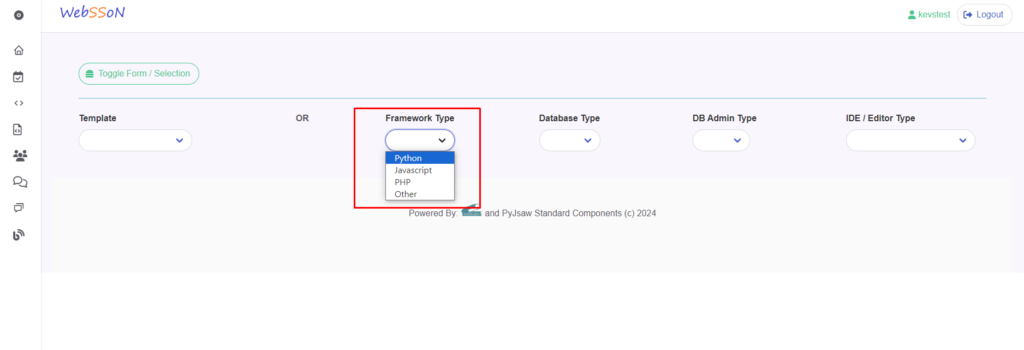
Then click on the drop down menu for web frameworks and choose the Python type:
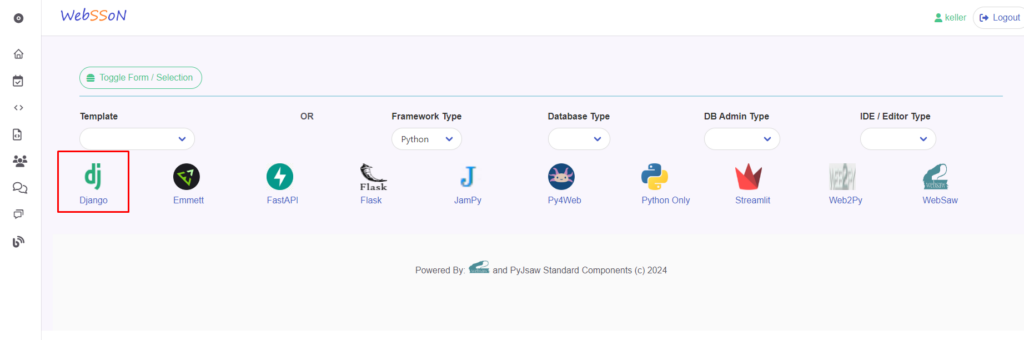
Then pick Django:
Then click on the green Toggle Form / Selection button:
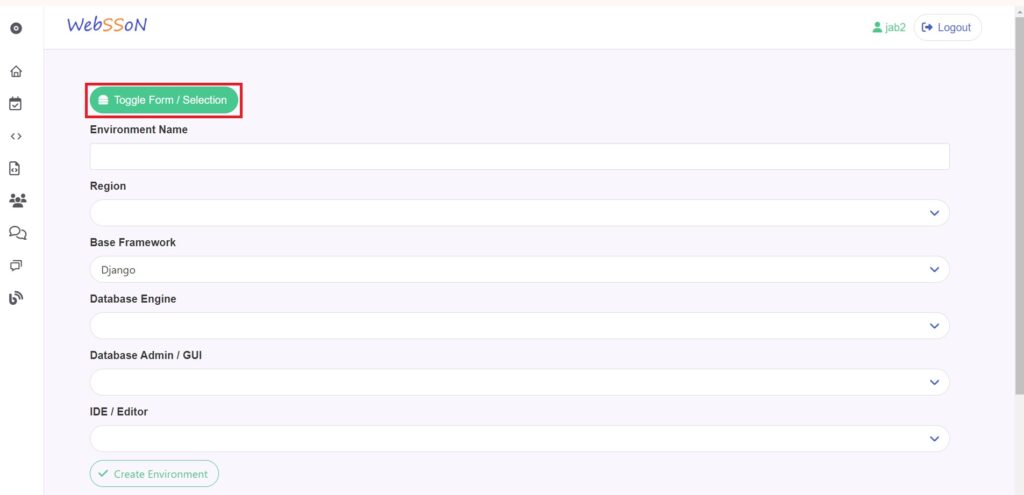
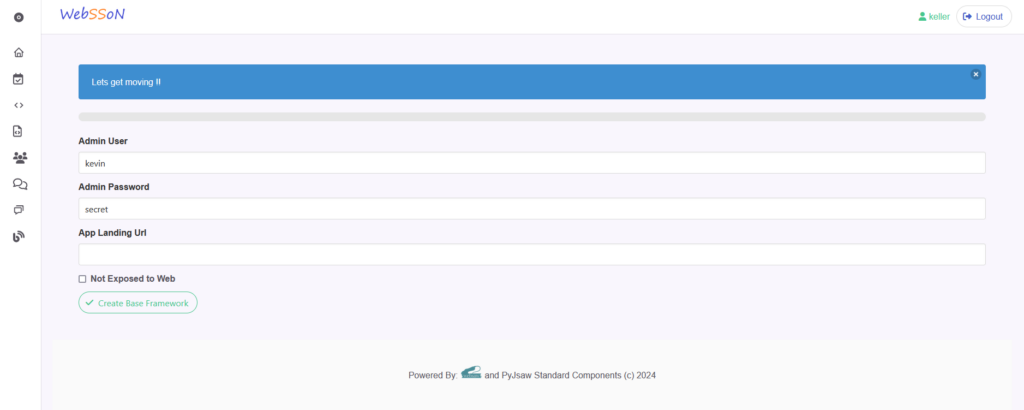
Which will bring up the form we need to enter the final 2 pieces of information:
- In which physical region do we want to deploy? At the moment of writing Websson only supports Germany so pick that region please:
- Which name do you want to choose for your Django environment / workspace? Type a short meaningful name.
Choose a Django admin username and password. Leave the "App Landing Url" page blank and ignore the "Do Not Expose to Web" checkmark for now. Take a note of your username and password somewhere!
Thats it! Now you should be redirected to the main menu where you will find the links to all the environments you currently have.
An alternative way to create or replicate an environment can be found in Working with Provisioning Templates to speed up your workflow.