Search for:

Working with Provisioning Templates

Provisioning templates are a fast and secure way to replicate or duplicate environments without having to go through the process of selecting environment components/frameworks each time.

There are basically three types of provisioning templates that are accessible to the user these being :

  1. Public Templates
  2. Private Templates
  3. Provisioning Templates (used internally by Websson)

Public templates are essentially the most common development/hosting environment setups that can be used ‘out of the box’ in order to get a flying start and cover most development requirement scenarios.

Private templates are your own and can be created from scratch or added based on any environment you have created manually.

Websson creates a provisioning template each time you add an environment and keeps it for your convenience should you wish to create a template based on the environment you have just created.

Users cannot update or change public or templates generated at environment creation time both of which are for consumption in other tasks.

Why should I use them?

Using provisioning templates reduces time taken to set up or replicate a complete working environment leading to consistency and compliance with requirements.

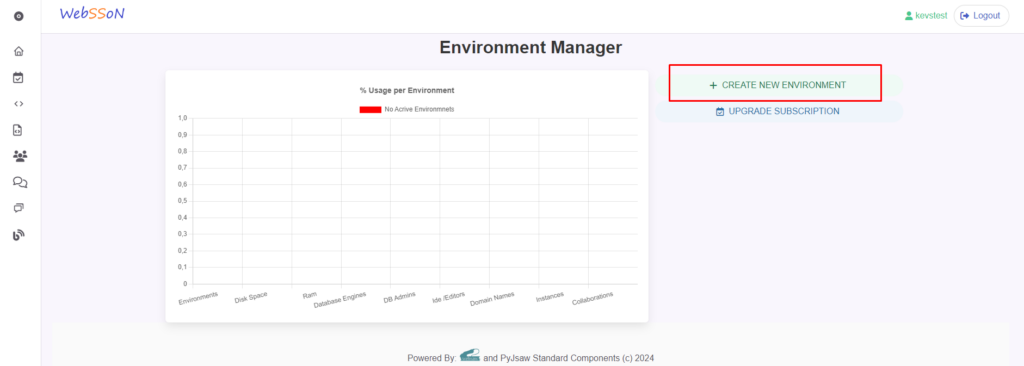
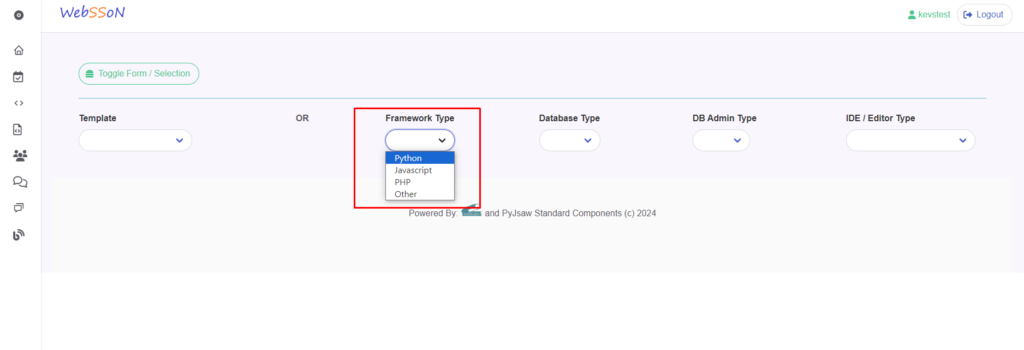
Whenever you create a new environment you have the option to use either a template (public or private) OR create the environment from a list of dropdowns.

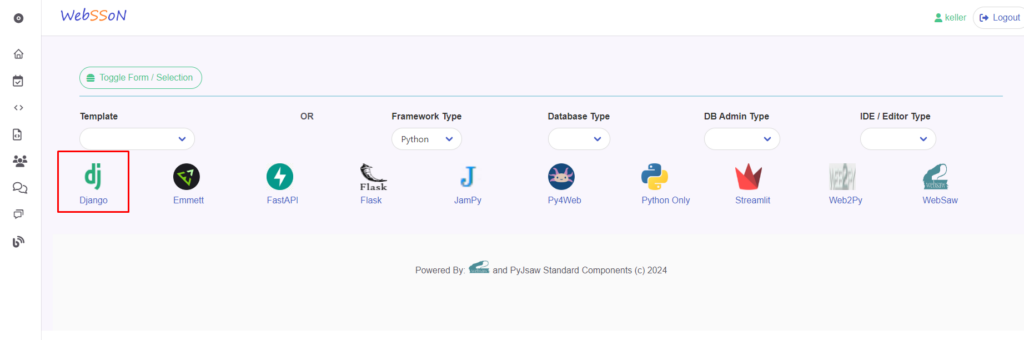
Using public templates

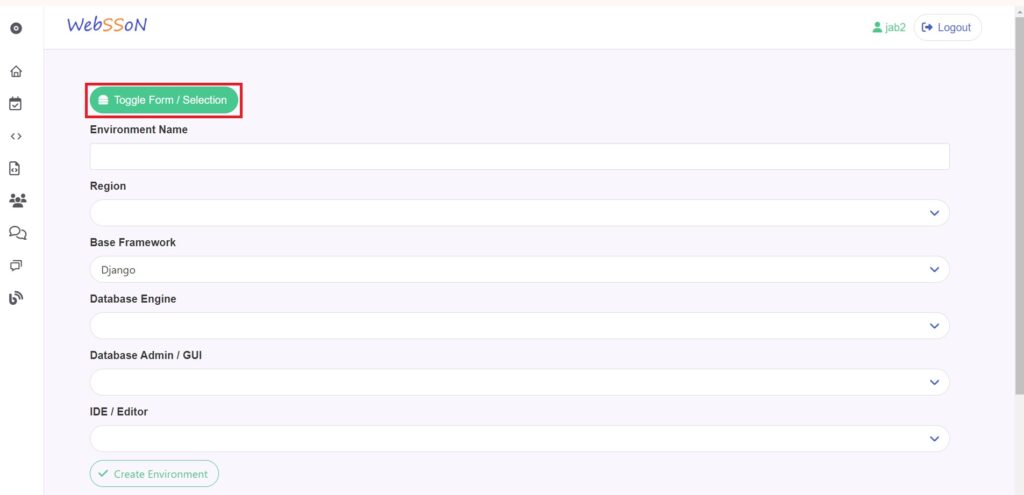
If you opt to chose a public template all the available public templates will be displayed in the selection area and simply clicking on one will automatically bring up the form options for the selected template.

You are free to change any of the fields to suite your requirements for example change the DB engine from MySQL to Postgress or Redis or whatever options are available.

This will not change the public template at all but will create a provisioning template when you create your environment with all the options you have selected.

Creating a private template from scratch

  1. From the Template Manager menu option select the private templates tab and hit the create button.
  2. Give you template a name and description
  3. Select the options form the lists available
  4. Save the template

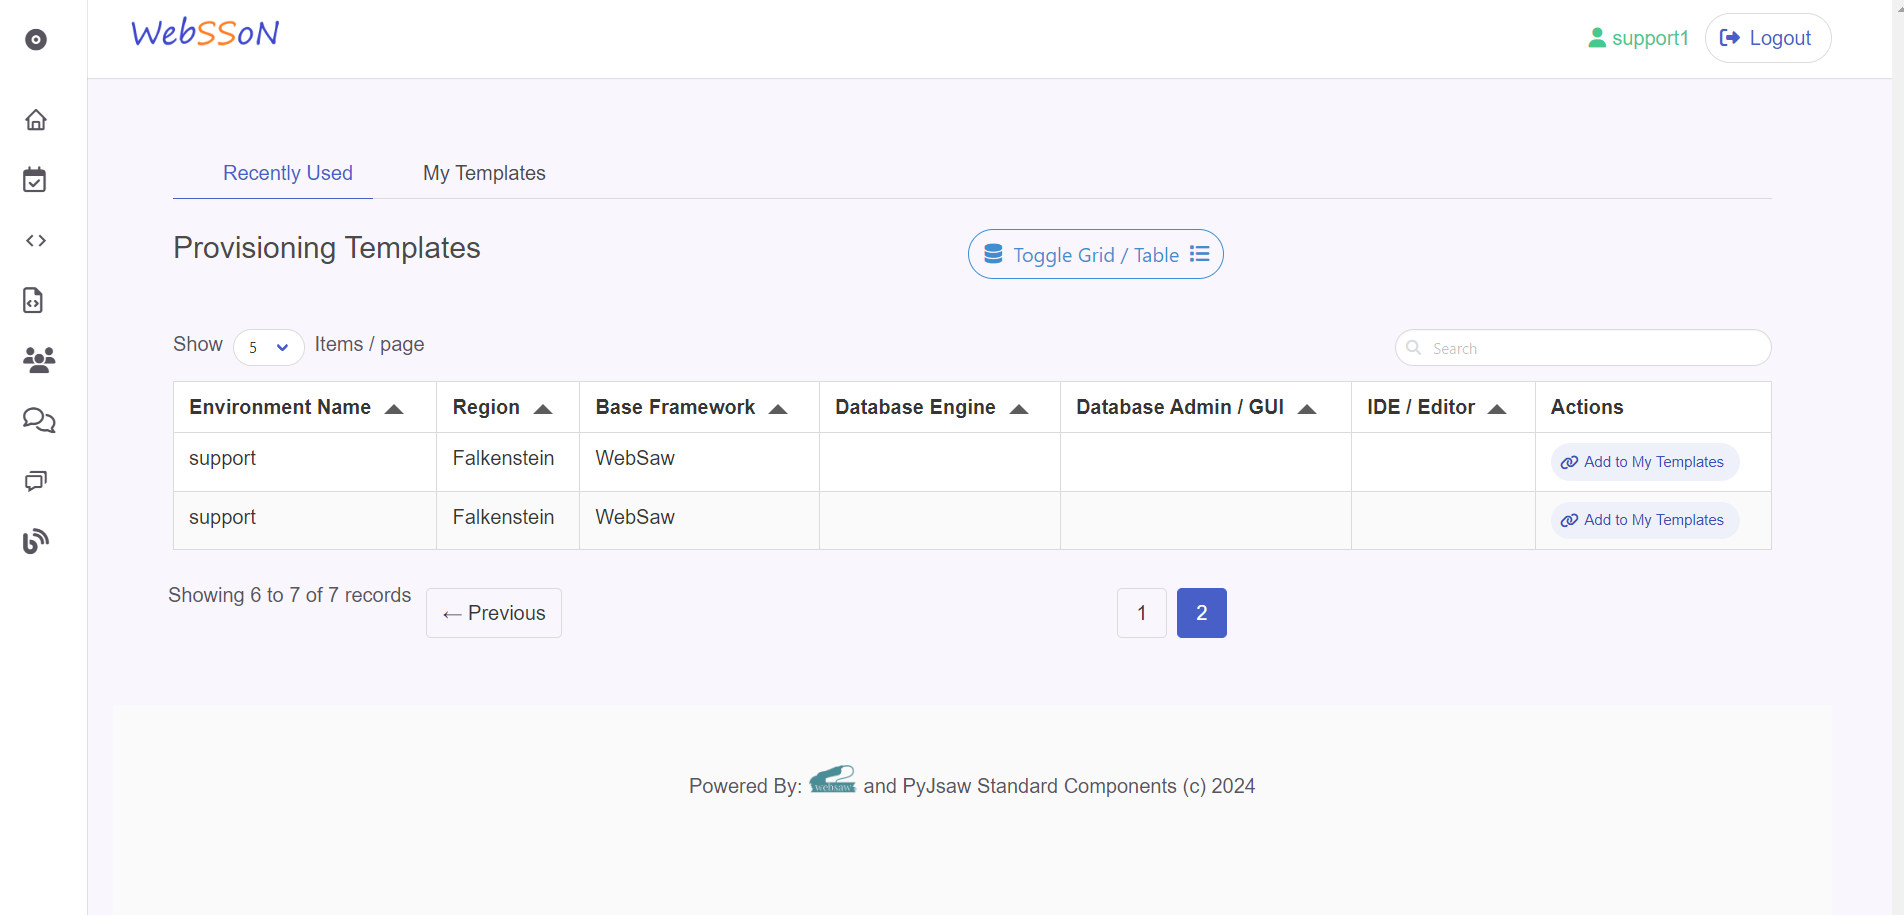
Creating a private template from a provisioning template

  1. From the Template Manager menu option select the Recently Used tab tab and Add to my templates button.
  2. Give you template a name and description elect the options form the lists available
  3. Save the template

Editing a private template

You can view, edit or delete your private templates by selecting the appropriate crud button from the private templates grid.

Using private (your own) templates

Much the same as using public templates and again you are able to change various options at environment creation time.

Creating an Environment

In this post we walk you through the process of creating a simple environment

If you are not registered on Websson or do not have an active subscription or free trial please refer to this Getting Started with Websson Quickstart and complete the registration process accordingly.

Adding Dabases, Database Managers and IDE’s can all be done in conjunction with creating an environment or added afterwards once the environment has been created.

So lets head on over to the environment manager and create a Django environment:

Then click on the drop down menu for web frameworks and choose the Python type:

Then pick Django:

Then click on the green Toggle Form / Selection button:

Which will bring up the form we need to enter the final 2 pieces of information:

  1. In which physical region do we want to deploy? At the moment of writing Websson only supports Germany so pick that region please:
  2. Which name do you want to choose for your Django environment / workspace? Type a short meaningful name.

Choose a Django admin username and password. Leave the "App Landing Url" page blank and ignore the "Do Not Expose to Web" checkmark for now. Take a note of your username and password somewhere!

Thats it! Now you should be redirected to the main menu where you will find the links to all the environments you currently have.

An alternative way to create or replicate an environment can be found in Working with Provisioning Templates to speed up your workflow.

Getting Started with Websson

In this post we take a look at how to register and create a subscription for new users.

There is a video to walk you through this process here:

In order to register we should head on over to the Websson Landing Page and select the green Login/Register button in the top right hand corner.

Then click on register:

Pay special attention to entering a short, but meaningful username.

The username will be used to unique identify all of the resource that you will later use and deploy and will also be needed for you to login.

You email will be necessary to for general communication and to confirm that you really want to create this account.

After entering your preferred username and your email you will be asked to check you email and to confirm your account using the link in your email inbox.

After clicking on the link to confirm your email address, you will be redirected back to the Websson account creation page to finish your account creation.

You will be asked to enter your firstname, lastname and a password and confirm your password.

Finally you will be redirected to the login page so you can login with your Websson account.

After login, if you have not been asked before, you will be asked to confirm that you agree with Websson’s cookie policy. Please only use the Websson service if you agree with the cookie policy.

After login the web page will not look much different other than that you now have registered as a user and you will see that you are logged in the upper right corner of the screen.

Click on the Plans menu item or Navigate down the page to create a subscription or free trial:

After you selection and you will be redirected to complete the subscription process by either entering a valid payment method and additional payment details or in the case of a “FREE TRIAL” no further information is required at this point:

After you click on “Start trial” or after entering valid payment details you will see the blue button will turn into a green button with a checkmark and you will then automatically be redirected the Websson Portal where you can setup your environment.

Thats it. Welcome to the Websson Development Community. You are all set to go.